


 Guides: Subscribers Workshop: Installing Portainer
Deployment
First, create the volume that Portainer Server will use to store its database:
docker volume create portainer_dataThen, download and install the Portainer Server container:
docker run -d -p 8000:8000 -p 9443:9443 --name portainer --restart=always -v /var/run/docker.sock:/var/run/docker.sock -v portainer_data:/data portainer/portainer-ce:ltsBy default, Portainer generates and uses a self-signed SSL certificate to secure port 9443.
Portainer Server has now been installed. You can check to see whether the Portainer Server container has started by running docker ps:
root@server:~# docker ps
CONTAINER ID   IMAGE                          COMMAND                  CREATED       STATUS      PORTS                                                                                  NAMES
de5b28eb2fa9   portainer/portainer-ce:lts     "/portainer"             2 weeks ago   Up 9 days   0.0.0.0:8000->8000/tcp, :::8000->8000/tcp, 0.0.0.0:9443->9443/tcp, :::9443->9443/tcp   portainer
If you don't know the host machine IP, you can use the following command to output the information.
ip addrLogging In
Now that the installation is complete, you can log into your Portainer Server instance by opening a web browser and going to:
https://localhost:9443
https://192.168.1.150:9443
Replace localhost with the relevant IP address or FQDN if needed, and adjust the port if you changed it earlier.
You will be presented with the initial setup page for Portainer Server.
Initial setup
Once the Portainer Server has been deployed, and you have navigated to the instance's URL, you are ready for the initial setup.
Creating the first user
Your first user will be an administrator. The username defaults to admin but you can change it if you prefer. The password must be at least 12 characters long and meet the listed password requirements.
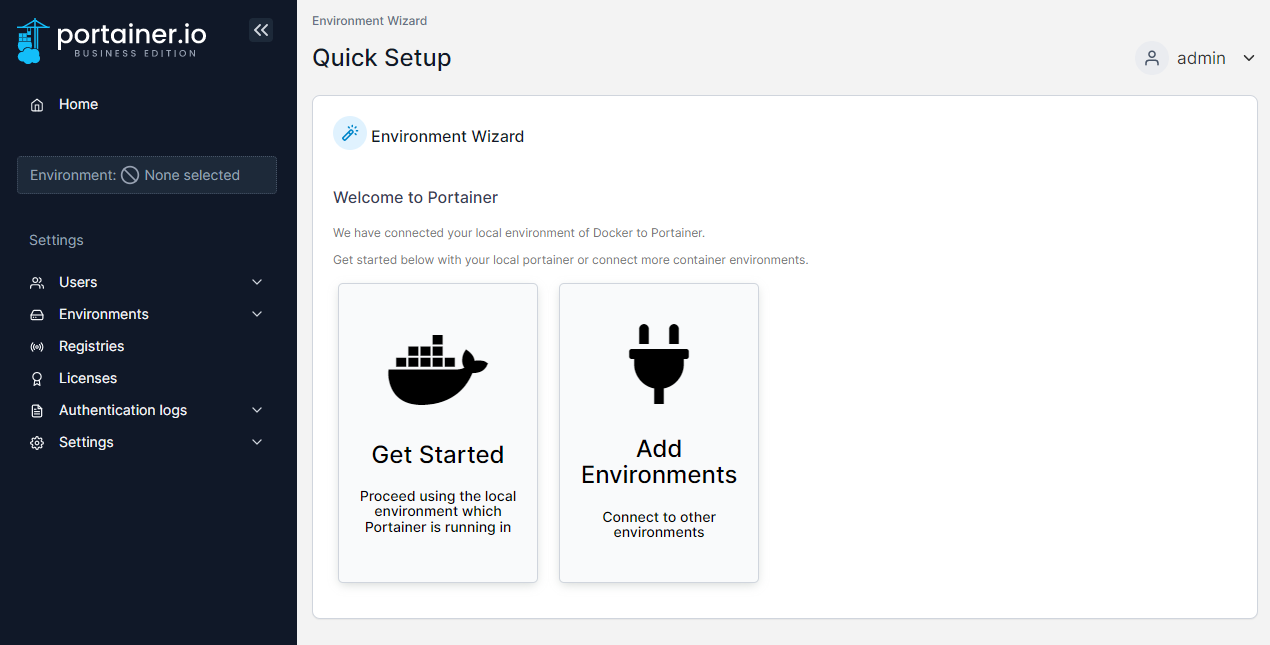
The installation process automatically detects your local environment and sets it up for you. If you want to add additional environments to manage with this Portainer instance, click Add Environments. Otherwise, click Get Started to start using Portainer!
There are no reviews to display.